This is 8 of 8 part of struts 2 tutorial.
Create project named "Struts2Spring3IntegrationExample".
First of all, you need to copy following files to WEB-INF/lib and add them to project's build path. You can download and install latest version of Spring Framework from http://www.springsource.org/download
For configuring all above jars and struts 2 jars in your eclipse ide please refer configuring struts 2 link.
Project structure:

Here you can note that we have configured listener.
org.springframework.web.context.ContextLoaderListner is required to load spring configuration file.By default the applicationContext.xml file will be used for doing the Spring bean configuration and it must be same level as web.xml.
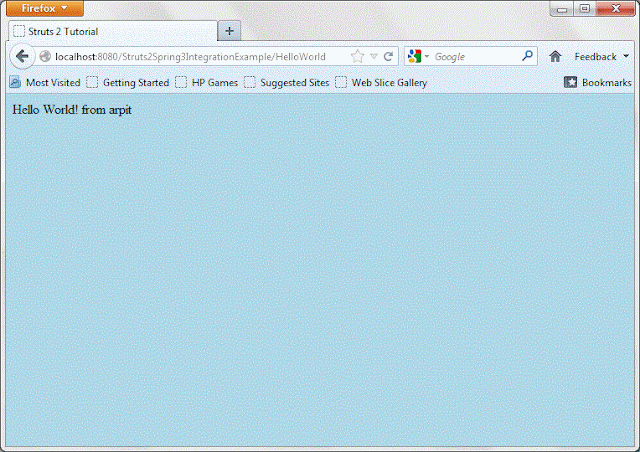
copy http://localhost:8080/Struts2Spring3IntegrationExample/HelloWorld link to browser and press enter.
Tutorial Content:
In this post,you will see how to integrate Spring 3 and Struts 2. Now first question comes here ,why you want to integrate spring with struts 2? Spring provides some features which are not available in struts 2.Most powerful among them is dependency injection.To learn more about dependency injection,you can refer dependency injection in spring link.
Part-1:Introduction to struts 2
Part-2:configuring struts 2 in eclipse
Part-3:Struts 2 hello world example
Part-4:Login page with validation in struts 2
Part-5:Struts 2 interceptors with example
Part-6:File upload in struts 2
Part-7:Struts 2 ajax example
Part-8:Struts 2 spring 3 integration example
Create project named "Struts2Spring3IntegrationExample".
First of all, you need to copy following files to WEB-INF/lib and add them to project's build path. You can download and install latest version of Spring Framework from http://www.springsource.org/download
- org.springframework.asm-3.1.1.RELEASE
- org.springframework.beans-3.1.1.RELEASE
- org.springframework.context-3.1.1.RELEASE
- org.springframework.core-3.1.1.RELEASE
- org.springframework.expression-3.1.1.RELEASE
- org.springframework.web-3.1.1.RELEASE
- org.springframework.web.servlet-3.1.1.RELEASE
For configuring all above jars and struts 2 jars in your eclipse ide please refer configuring struts 2 link.
Project structure:

Web.xml:
Copy following content in web.xml.<?xml version="1.0" encoding="UTF-8"?>
<web-app id="WebApp_ID" version="2.4" xmlns="http://java.sun.com/xml/ns/j2ee" xmlns:xsi="http://www.w3.org/2001/XMLSchema-instance" xsi:schemaLocation="http://java.sun.com/xml/ns/j2ee http://java.sun.com/xml/ns/j2ee/web-app_2_4.xsd">
<display-name>Struts2Spring3IntegrationExample</display-name>
<filter>
<filter-name>struts2</filter-name>
<filter-class>org.apache.struts2.dispatcher.ng.filter.StrutsPrepareAndExecuteFilter</filter-class>
</filter>
<listener>
<listener-class>org.springframework.web.context.ContextLoaderListener</listener-class>
</listener>
<filter-mapping>
<filter-name>struts2</filter-name>
<url-pattern>/*</url-pattern>
</filter-mapping>
<welcome-file-list>
<welcome-file>default.jsp</welcome-file>
</welcome-file-list>
</web-app>
Here you can note that we have configured listener.
org.springframework.web.context.ContextLoaderListner is required to load spring configuration file.By default the applicationContext.xml file will be used for doing the Spring bean configuration and it must be same level as web.xml.
Action class:
Create action class named HelloWorld.java under package org.arpit.javaPostsForLearning in src folder.copy following content to HelloWorld.java.
package org.arpit.javaPostsForLearning;Now we will configure above action file in applicationContext.xml.
import com.opensymphony.xwork2.ActionSupport;
public class HelloWorld extends ActionSupport{
String message;
public String getMessage() {
return message;
}
public void setMessage(String message) {
this.message = message;
}
public String execute()
{
return SUCCESS;
}
}
applicationContext.xml
Create applicationContext.xml in WebContent->WEB_INF. Copy following content to applicationContext.xml.<?xml version="1.0" encoding="UTF-8"?>
<!DOCTYPE beans PUBLIC "-//SPRING//DTD BEAN//EN" "http://www.springframework.org/dtd/spring-beans.dtd">
<beans>
<bean id="helloWorldClass" class="org.arpit.javaPostsForLearning.HelloWorld" >
<property name="message" value="Hello World! from arpit" />
</bean>
</beans>
JSPs:
We will create one jsp named "Welcome.jsp" under WebContent folder. Copy following code into Welcome.jsp<%@ page language="java" contentType="text/html; charset=ISO-8859-1"
pageEncoding="ISO-8859-1"%>
<%@taglib uri="/struts-tags" prefix="s"%>
<html>
<head>
<meta http-equiv="Content-Type" content="text/html; charset=ISO-8859-1">
<title>Struts 2 Tutorial</title>
</head>
<body>
<s:property value="message" />
</body>
</html>
struts.xml:
Create struts.xml in src folder. Copy following content in struts.xml<?xml version="1.0" encoding="UTF-8" ?>Now you can note here that In <action> tag,we have set class attribute same as id of bean configured in applicationContext.xml.
<!DOCTYPE struts PUBLIC
"-//Apache Software Foundation//DTD Struts Configuration 2.0//EN"
"http://struts.apache.org/dtds/struts-2.0.dtd">
<struts>
<package name="default" extends="struts-default" namespace="/">
<action name="HelloWorld" class="helloWorldClass">
<result name="success">Welcome.jsp</result>
</action>
</package>
</struts>
Run Application:
Right click on project->run as->run on server.copy http://localhost:8080/Struts2Spring3IntegrationExample/HelloWorld link to browser and press enter.
Source:Download without jars files
Source + lib: Download with jars files
No comments:
Post a Comment